Showing posts with label how to. Show all posts

Monday, August 5, 2013

DIY Subway Art using PicMonkey Part 4

So I've been asked a couple times about how I do Subway Art on PicMonkey....well guess what? A tutorial is now on its way.  I will post it very soon, almost finished. But for now, here's probably the last of the Subway Art for a while, maybe. I might continue with them just cuz they're kinda fun. There's a link to download them at the bottom, as usual.


For back to school haha

Download 1000 Reasons quote here
Download Rainbow quote here
Download Worrying quote here

Tutorial: How to Make Subway Art Using PicMonkey

Oh gosh, this is long. Took me forever to make, but now I don't have to show anyone individually--that would take even longer. Hope you get it! Show me your finished product or comment if you need help...


Tutorial: Dress to Skirt + Elastic Casing

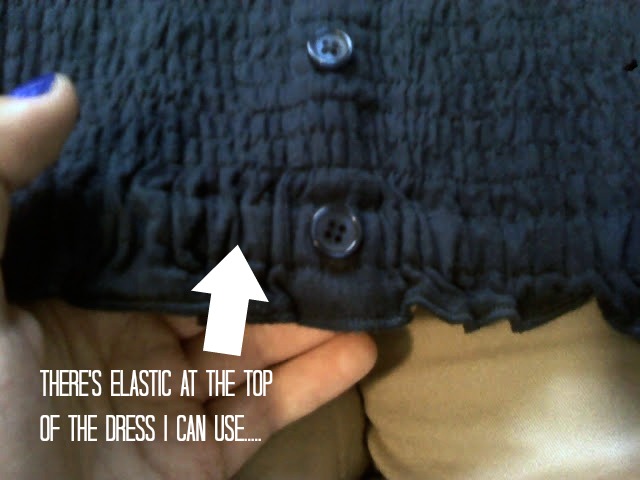
So I have this dress that I never wear...it's just too darn immodest.  I'd have to wear a shrug or cardigan with leggings to pull it off....cheesy:(   So here's another tutorial: Dress to Skirt.  I apologize for the pics, but all I have is my phone.  If you can tell, the top is elastic-y with buttons all the way down to the ruffle at the bottom.


Had to hurry and stick on a shirt so I could pull it down to my knee...

REDUCE, REUSE, RECYCLE!!!


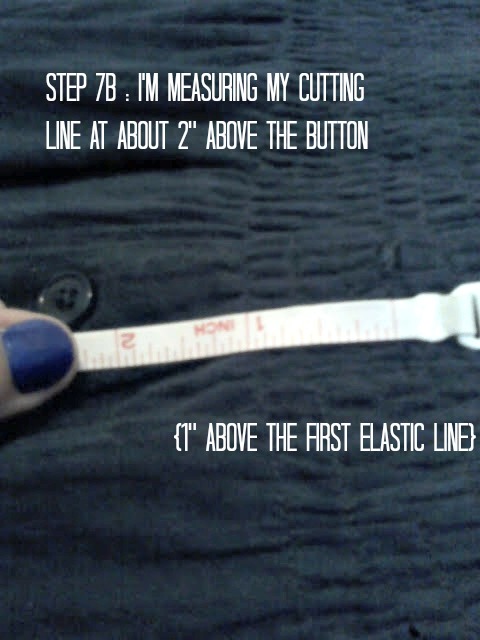
EXPLANATION OF STEP 7: If you look at Step 3, I want the height of the skirt to be about where the bottom of the elastic-y part of the dress ends (about 1" above the button).  STEP 7B: I added in an extra 1" to where I wanted the top of the skirt to be so I could fold it down and sew...don't want no raw edges.  That's why I measured my cutting line at 2" above the button in Step 7.  WOW that was a lot--make any sense??? haha

If you don't get it, read down to step 10 and the explanation below it.


That way I didn't have to measure and mark the cutting line all the way around...ugh

That's why I cut it 2" above the button is Step 7, cuz 3/4" + 3/4" (for casing) = 1 1/2" 
1/4" seam allowance x 2 (because when you sew the casing after it's folded down, you're taking 1/4" out of each side) = 1/2"
1/2" + 1 1/2" = 2" (which is why my cutting line is 2" above button)
make sense??


I forgot to mention here that after you pin the two elastic edges together, make sure they're not twisted and then sew them together so you can stretch the top of the skirt and get all the elastic spread out.


FINISHED PRODUCT :

And with a leopard belt:
P.S. This is what I wore to Tuacahn when we got those discount tickets to go 2 nights in a row...it was really hot and the skirt kept me cool...loved it!!


Wednesday, July 17, 2013

DIY Subway Art using PicMonkey Part 2

So yesterday I posted the first Subway Art I made, and I liked doing it so much that I made another one! So here we go, Part 2. Also if you want to learn how to do this, either Google Search it like I did, or I can give you the blog address for a really helpful tutorial. It's so amazingly easy! Scroll down for the free download. I'm making them all for an 8x10 frame, but you can probably customize it if needed. Thanks to my little sister for all the great quotes.
Click HERE to download

Tuesday, July 16, 2013

DIY Subway Art using PicMonkey

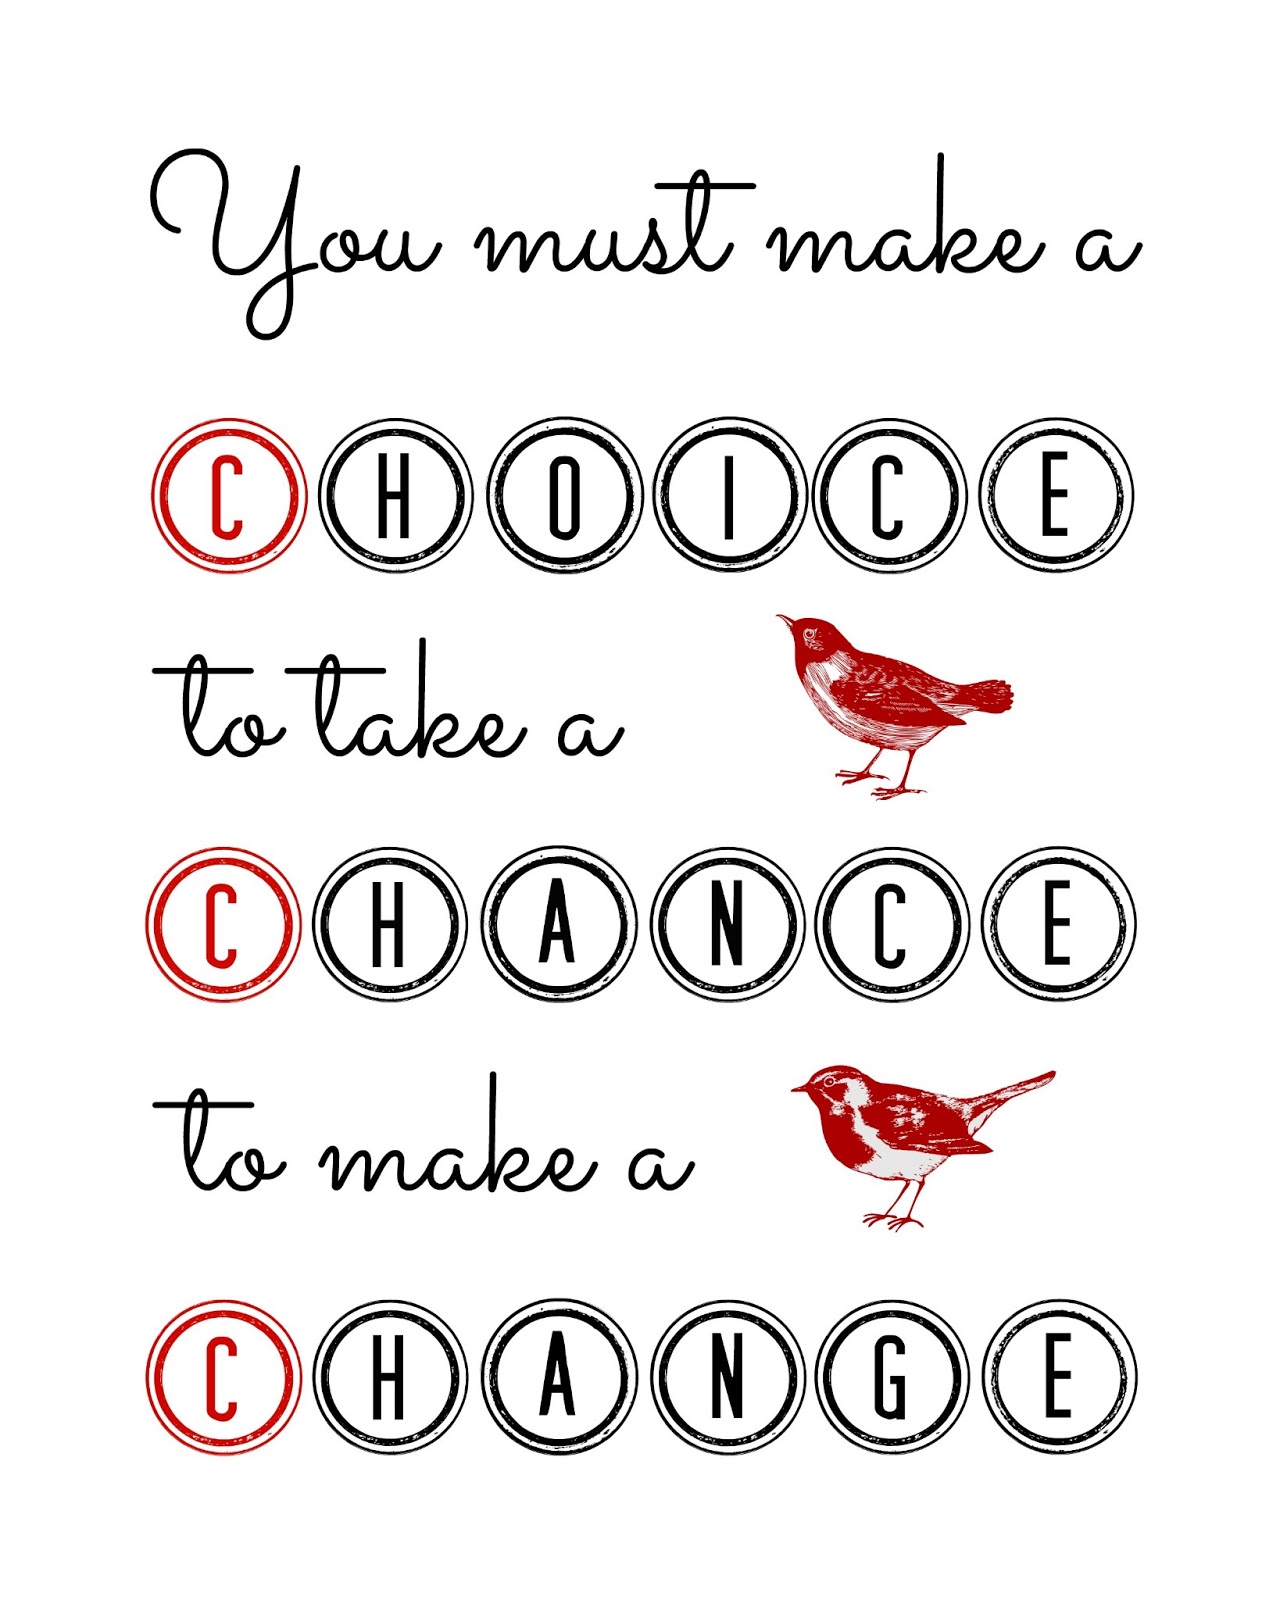
So I helped my little sister Jaki clean up her room, cuz she was fed up with it.  We'll see if she can keep it clean (yah right).  Any way i decided she needed to make some changes besides cleaning.  She has these quotes taped on one wall and I think it looks tacky.  She has a few extra frames so I made one of the quotes into Subway Art.  So here's my best shot at it.  Just remember that this is my first try! Scroll down to see the finished product.  You can use it as you please.  More are on the way :)

Click HERE to download the Subway Art
Related Posts Plugin for WordPress, Blogger...

Pin it